ITALIAN SAUSAGE PT. 1
For some reason the idiom “how the sausage gets made” has a negative connotation. It’s used to refer to unpleasant processes that we would rather not witness. But I’m here to tell you: don’t be afraid! This was my first time making sausage and there was nothing unpleasant about it. It is time-consuming (give yourself about 4 hours) and requires some slightly strenuous labor, but it’s fun and so gratifying. It’s definitely a team sport so call over a buddy or two and make an afternoon of it.
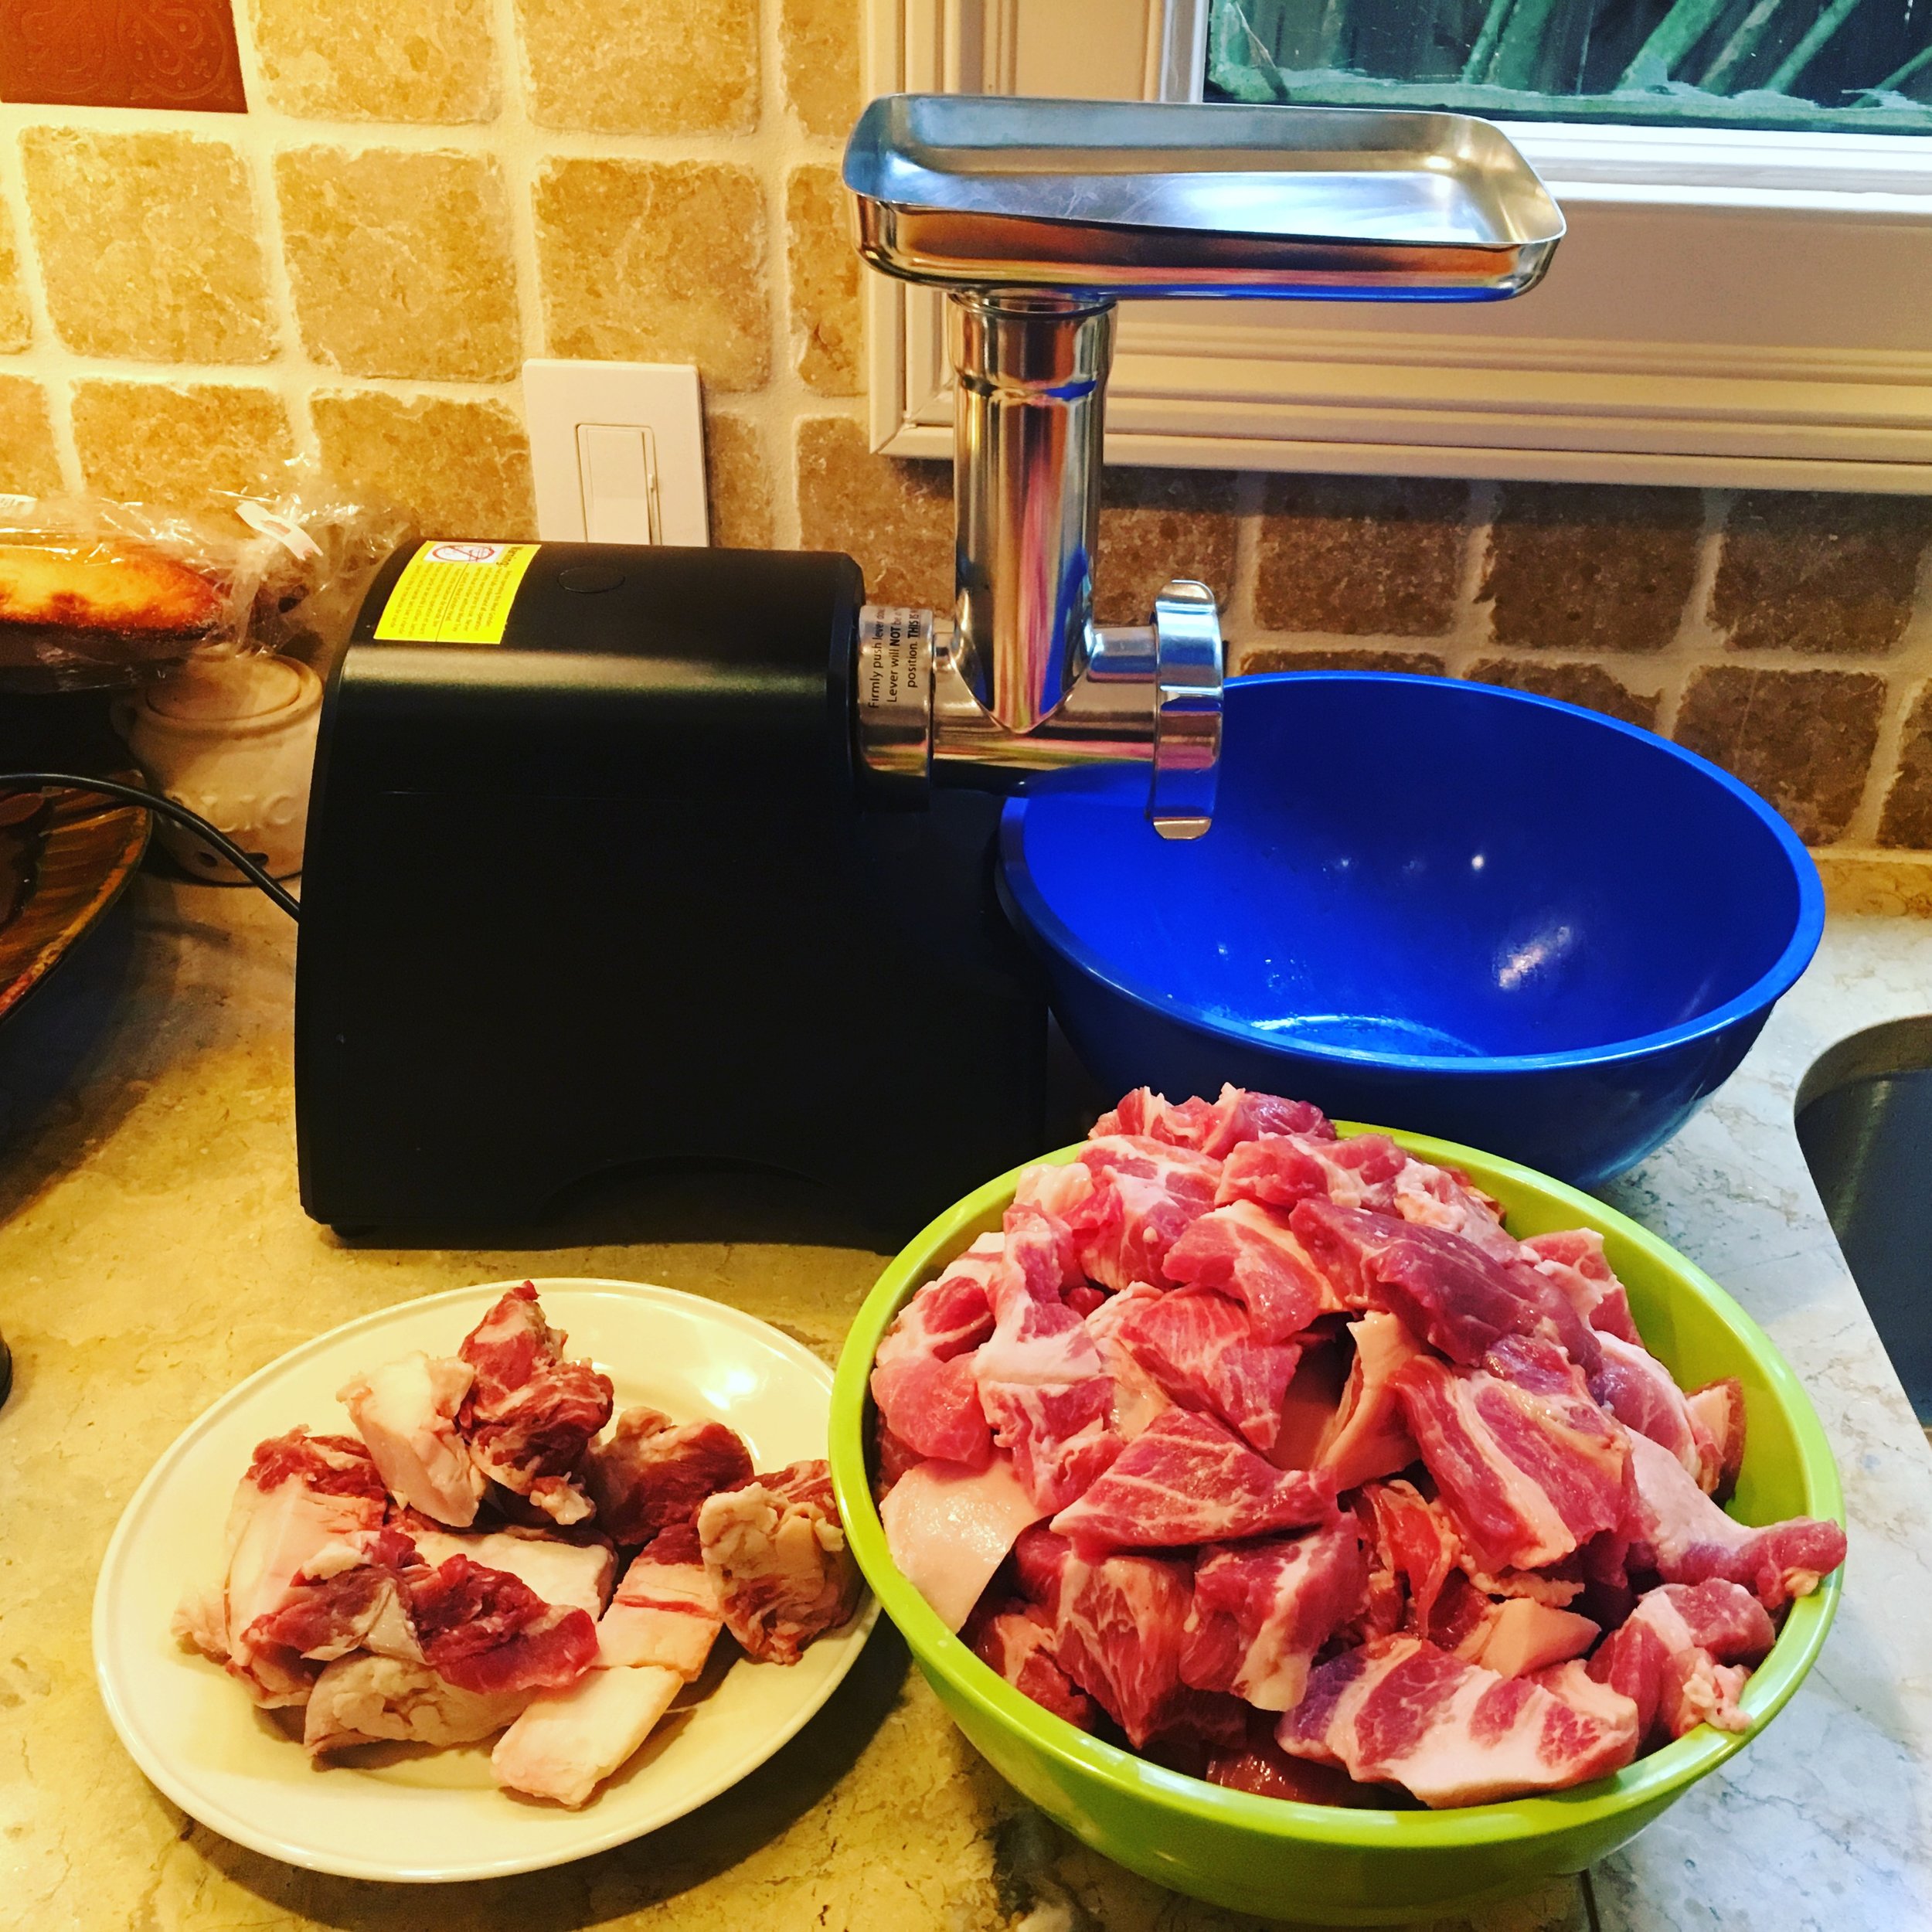
If you have a KitchenAid you can buy a grinder attatchment, or you may choose to invest in a heavy duty meat grinder. We used one from Cabela’s. Make sure to look over the manual for your machine as the functions and parts may be different.
Regardless of the equipment you use, I recommend watching this video before beginning. It will give you a good idea of how the grinding and stuffing functions should look in action.
We decided to go big so this recipe calls for 10 lbs of meat, but you can scale down of course.
ITALIAN SAUSAGE
- 10 lb Boston Butt cut off the bone
- 1 lb beef ribeye trimmings, mostly fat (you can subsitute additional pork fat)
- Hog casings, cleaned (ask for natural casing for sausage from your butcher. Ours were cleaned but be sure to ask if you need to soak or rinse yours.)
- 2 cups finely chopped white onion
- 2 cups finely chopped celery
- 1 cup finely chopped green onion
- 1 bunch finely chopped Italian parsley
- 6 tbsp kosher salt (start with half and test a batch before adding more)
- 2 tbsp ground black pepper
- 1/2 cup + 4 tbsp Italian spice blend (ours contained fennel seed, chili flakes, basil, coriander, oregano, paprika, parsley, black pepper, thyme, garlic, onion and Himalayan Pink salt)
- 3 tbsp fennel seed
- 4 tbsp minced garlic
- 2 tbsp red pepper flakes
- 1/4 cup dry red wine
Cut your pork butt up into pieces that will fit through the hole in the feeding tray into the grinder.
Place a large bowl under the grinder to catch the meat. Turn grinder on and start feeding pork through.
Add in the beef fat or additional pork fat intermittently.
Mince your garlic. Chop up green onion and parsley. Chop celery and onion, ideally in a food processor; you want it to be super fine. Drain the celery and onion on paper towels to remove excesss moisture.
With your hands, mix vegetables, spices and red wine into ground meat. I noted in the ingredients list to start with half the salt I've called for and add more to taste.
Make sure to mix it well so the spices are evenly distributed.
Now you're going to test your meat mixture. Scoop enough to form a small patty and fry.
Once cooked through, taste the sausage. Now you can decide how much more salt to add and if you'd like to add more of any particular spice. Through a few test batches, we decided to add more garlic, fennel seeds and crushed red pepper. Once you're satisfied with your sausage mixture let it sit in refrigerator for 30 minutes. You want the meat to be quite cold and firm as this will make stuffing the sausage exponentially easier. If you're working with a large quantity of meat like we were, keep half of the meat mixture in the fridge while you stuff one batch, then repeat.
Okay, ready for an arm workout? It's time to stuff the sausage! Make sure the grinder head is cleaned from the meat-grinding step and attach stuffing funnel.
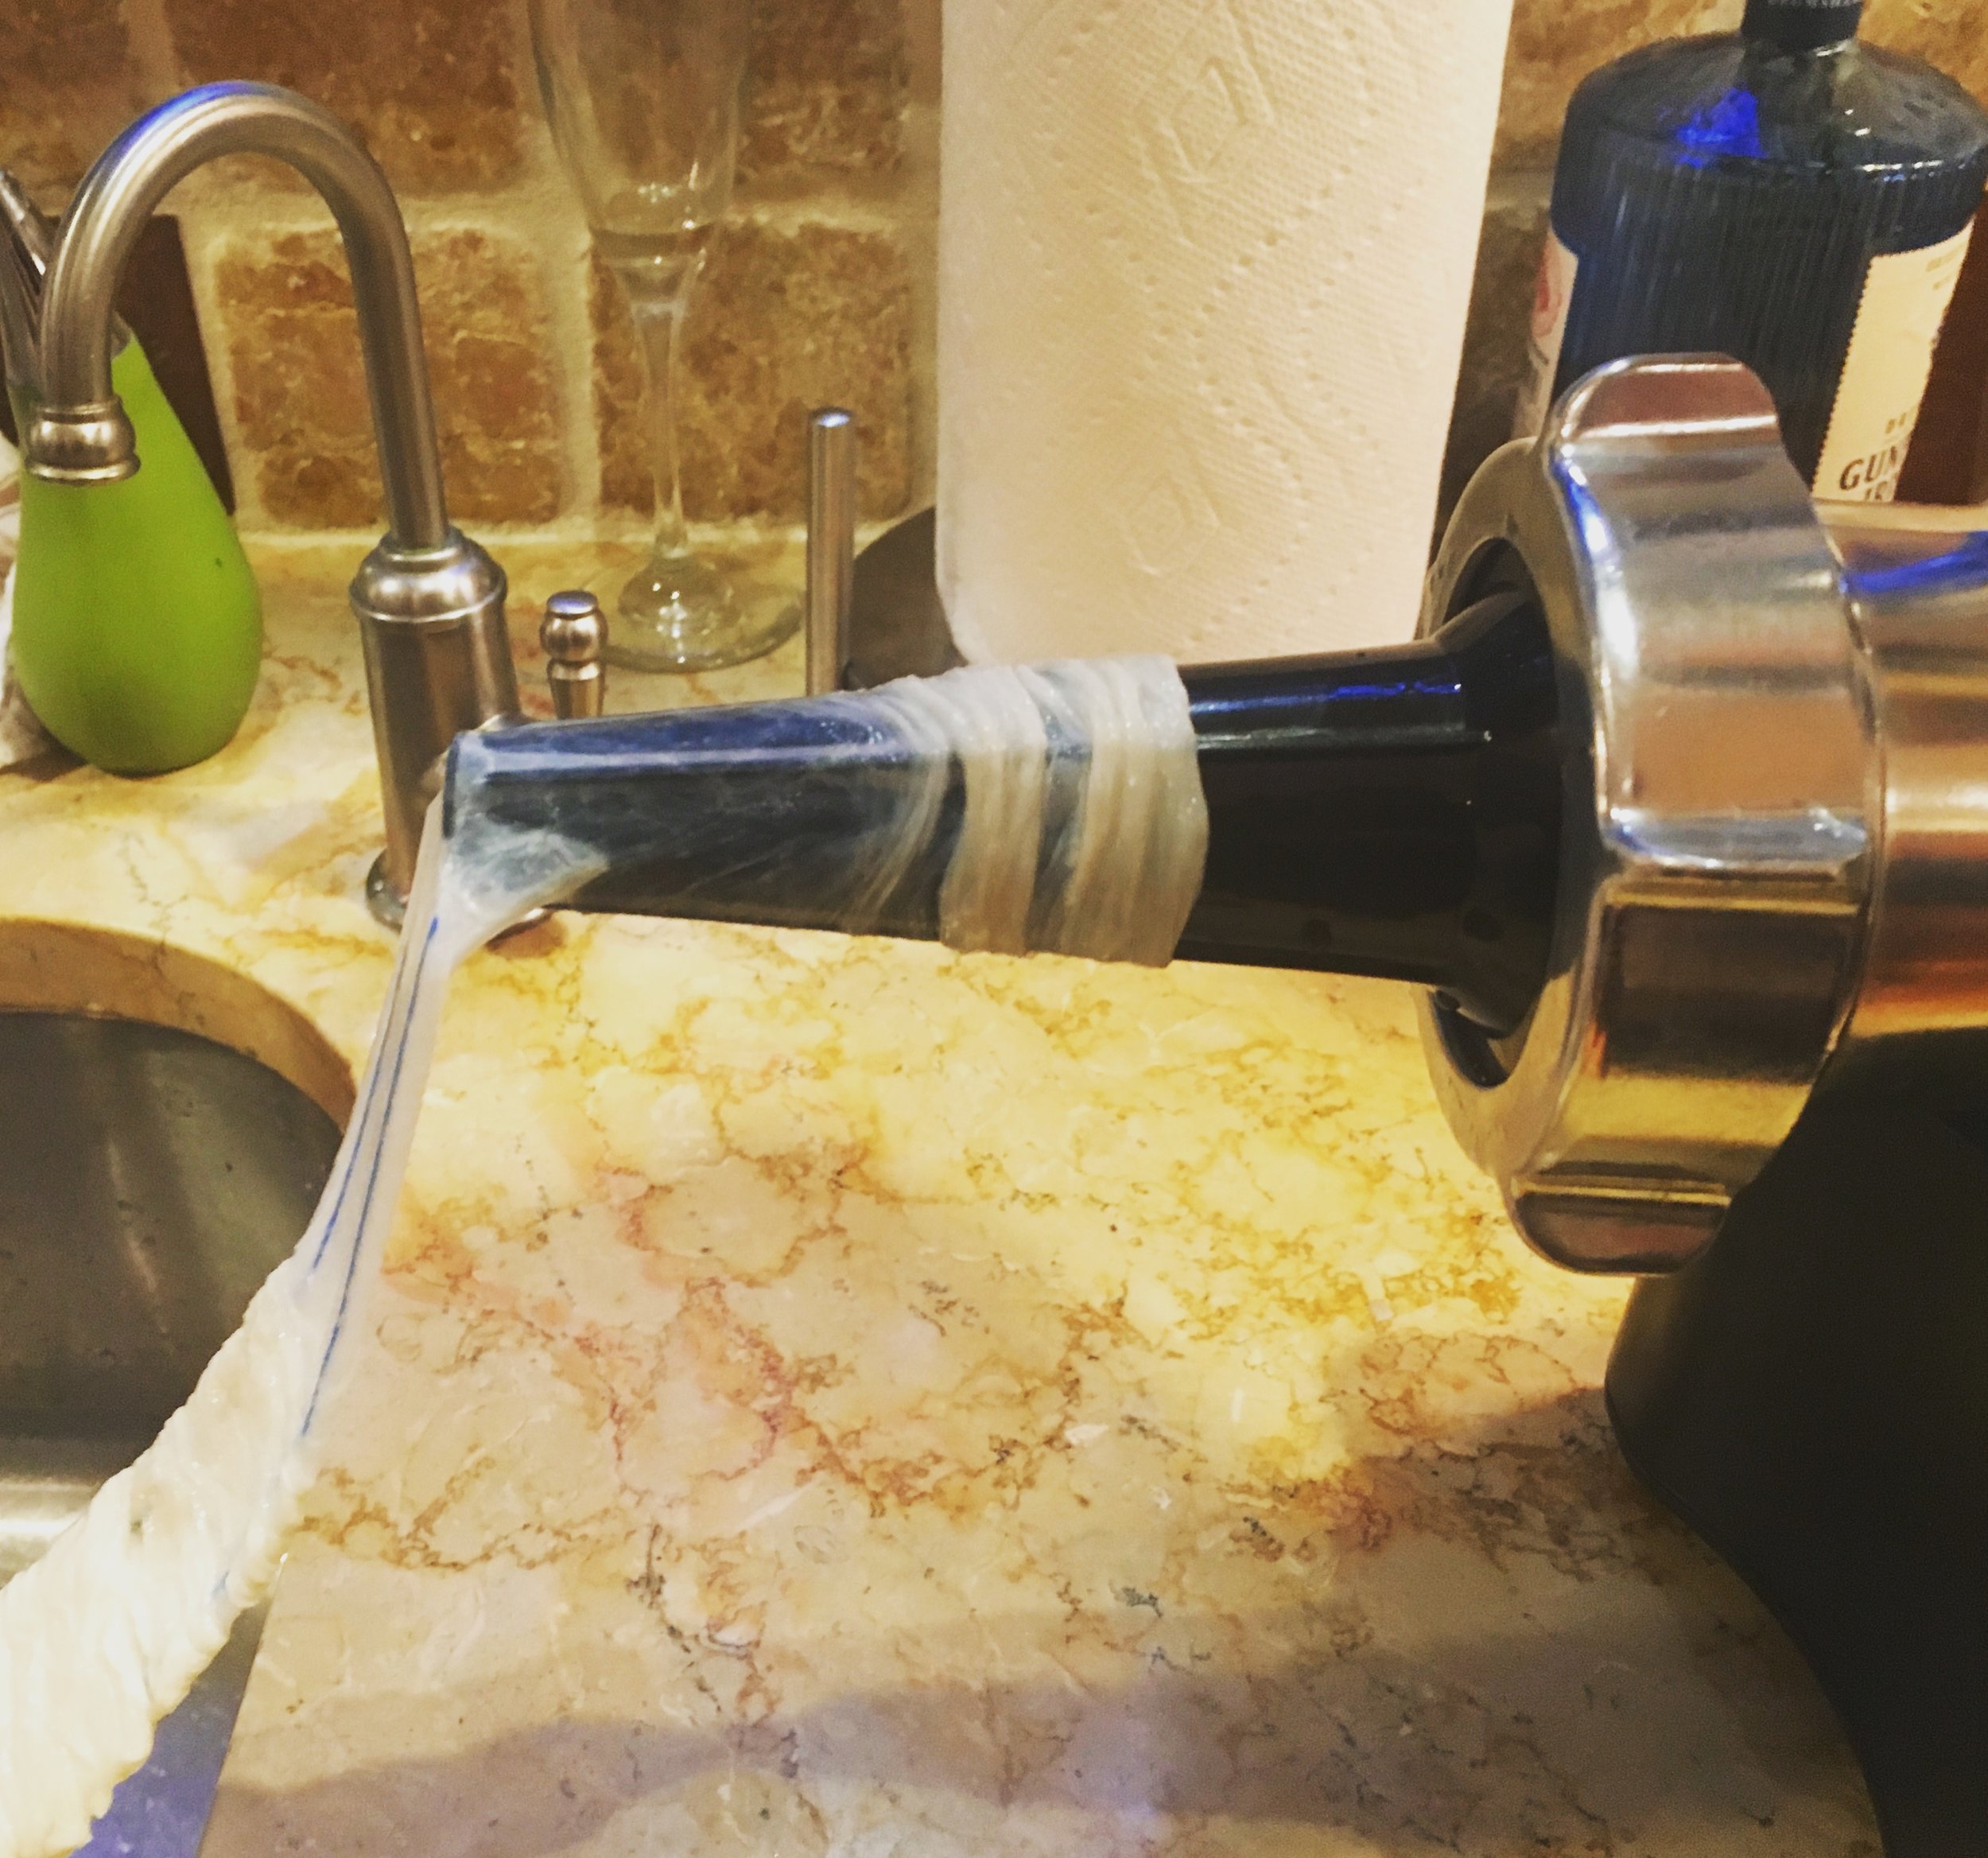
Feed hog casing onto stuffing funnel so it bunches up like pictured. Keep sliding more of the casing on, as much as you can fit. Make sure you leave enough hanging off the end to tie off after the first bit of meat comes through.
Here's where the teamwork comes in. One person will start feeding handfuls of the meat into the tray, pushing down with the meat-pusher tool (I was wondering if this tool had a less obvious name but apparently it does not!). As the meat comes out, the other person will help guide it into the casing. Right after it starts coming through, turn machine off and tie a knot right at the end to contain the sausage. Then, continue stuffing, pulling on casing when more meat is coming through and holding it tight against funnel when there is a break in the flow.
Either your meat or casing will run out first, but make sure if the casing is getting low to stop--you need enough to tie another knot. Don't tie the knot yet though, just cut the casing off the funnel with a few inches trailing behind the sausage.
Now, take a paper clip, safety pin or better yet, sausage pricker if you happen to own that specific tool and start piercing the sausage to release air bubbles. Poke all along both sides.
To form individual sausages, pinch casing where you want the first link to end. Roll sausage so the casing twists. Flip next section in opposite direction. The video I linked to will come in handy here. You can see how you can kind of "twirl" the sausage back and forth to divide up the links.
Once finished, tie a knot at the end of the last link. Let the sausages sit for at least 30 minutes and up to overnight to let casings harden before you cut the links apart.
And there you have it! That's how the sausage is made.
Stay tuned for Part 2 where we actually get to cook and EAT the fruits of our labor!


